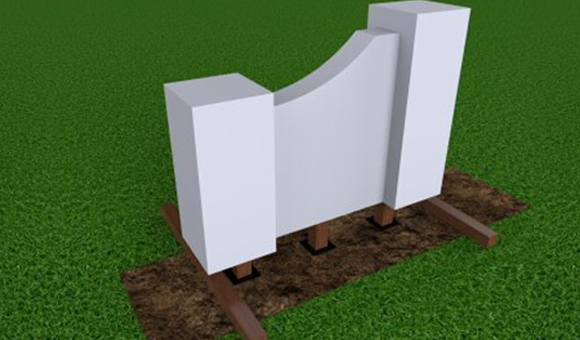
Lay entrance wall on it's side (place two stringers under each side as shown).
Remove sod if required and prepare a level surface.
If ground has bad drainage (clay), add 4-6" of pea gravel in cutout area.
Determine the location of your entrance wall.
Lay entrance wall on it's side (place two stringers under each side as shown).
Remove sod if required and prepare a level surface.
If ground has bad drainage (clay), add 4-6" of pea gravel in cutout area.
2
Apply adhesive* to all four sides of 6" x 6" posts, except for the bottom 42" of the post.
Evenly distribute adhesive by sliding coated 6"x 6" posts back and forth into pre-cut slots of entrance wall.
Allow post to extend 42" inches past base of entrance wall.
Dig three 42" holes using the inserted posts as your template. **
* Recommend using PL Premium Polyurethane Construction adhesive.
** Check with local building codes to determine frost line depth for holes and entrance wall location approval.
3
Lay down two stingers on each end of cut out area.
Lay down two stingers on each end of cut out area.
4
After posts are firmly adhered into entrance wall, tip entrance wall up into post holes, resting on two end stringers.
Fill three post holes with concrete.
Remove two end stringers and allow wall to settle firmly on the leveled ground. Use level to make sure wall is level vertically and horizontally. If needed, use temporary braces to insure wall is level and straight.